

The edge of your stone surface does more than finish the room. It protects wooden doors, hides hardware, and provides necessary legroom for guests. Planning the correct depth prevents spills from damaging wood finishes below. It also stops drawer pulls from extending past the stone face.
What is countertop overhang?
The horizontal distance a slab or surface extends beyond the front and sides of base cabinets is the countertop overhang.
When cabinet makers build standard kitchen base cabinets, the carcass measures 24″ deep. Most cabinet doors and drawer fronts add another ¾″ to ⅞″ of thickness. The countertop must project past these door fronts rather than ending flush with the cabinet frame.
A proper overhang performs 4 essential jobs:
- It acts as a drip rail so liquid spills drop straight onto the floor instead of running down drawer fronts into cabinet interiors.
- It shields pulls, knobs, and decorative moldings from dropped utensils and impact.
- It hides the raw seam where the top of the cabinet box meets the underside of the stone or wood.
- It lets you wipe crumbs and prep debris directly into your hand or a dustpan without snagging on handles.
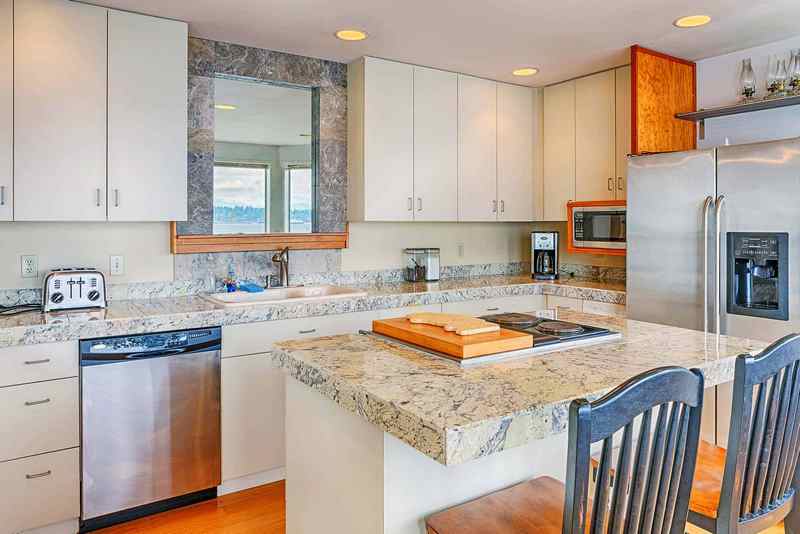
Standard & typical countertop overhang dimensions
The standard countertop overhang along standard base cabinets is 1½″ measured from the front of the cabinet box frame.
Because standard cabinet drawer fronts add roughly ¾″, this 1½″ dimension leaves a net projection of ¾″ past the actual face of the cabinet doors. The total depth of a standard perimeter counter across residential kitchens finishes at 25½″
The typical countertop overhang changes depending on which edge of the cabinet run you measure:
- Front edge: 1½″ past the cabinet carcass (¾″ to 1″ past door fronts).
- Exposed side edge: ½″ to 1½″ past the finished side panel. An overhang of 1″ is standard when a run terminates without an adjoining wall or tall appliance panel.
- Wall-adjoining side edge: 0″ flush against drywall or tile backsplashes, sealed with a 100% silicone bead.
- Back edge against wall: 0″ flush fit against the wall studs or drywall.
The average kitchen layout relies on these perimeter dimensions to keep walkways clear while giving home cooks enough room to lean against the surface comfortably.
How much overhang do you need for a countertop?
To determine how much overhang for countertop layouts in your specific kitchen, measure your cabinet construction type and room clearances before cutting stone slabs.
Cabinet door styles dictate the starting line of your measurement. If you install full-overlay cabinet doors, the door covers the entire cabinet frame. In this setup, an overhang of 1½″ from the box leaves ¾″ past the door. If you install inset cabinets where doors sit flush inside the face frame, a 1½″ projection extends 1½″ past the door surface. Inset cabinets often look best with a reduced 1¼″ overhang to maintain crisp sightlines.
You must also check clearance for nearby elements:
- Dishwasher panels: Countertops must extend far enough to cap the top gasket of built-in dishwashers without blocking top-control buttons.
- Slide-in ranges: Side overhangs flanking a 30″ range opening must remain minimal (usually ¼″ to ½″) to allow appliances to slide in smoothly without wide gaps.
- Doorways and walkways: Maintain at least 36″ of clear walkway in standard work zones and 42″ to 48″ in multi-cook corridors.
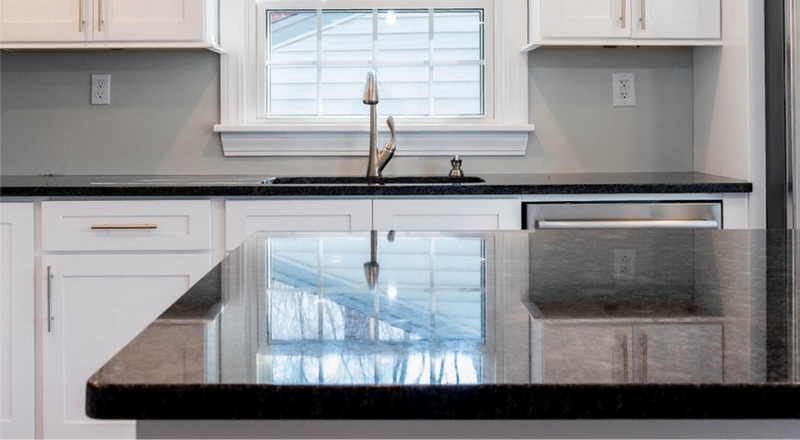
Minimum countertop overhang requirements
The absolute minimum countertop overhang for functional kitchen base cabinets is 1″ measured from the cabinet carcass.
This 1″ dimension leaves approximately ¼″ of clearance past standard cabinet door faces. Designers occasionally specify this reduced profile in ultra-modern European kitchens or tight galley layouts where every fraction of an inch matters.
A flush edge with 0″ overhang introduces practical drawbacks. When a countertop sits completely flush with the cabinet box:
- Liquid spills follow surface tension, rolling directly down the cabinet faces, swelling wood substrates, and ruining paint finishes.
- Crumbs catch on the upper lip of drawers instead of falling cleanly off the edge.
- Cabinet hardware sticks out past the slab edge, catching pockets and belt loops as you walk past.
Commercial spaces with integrated metal channel pulls can function with flush edges, but residential kitchens require at least ¼″ clearance past the outermost door hardware plane.
Kitchen island overhang guidelines
A kitchen island overhang requires different planning than perimeter counters because islands combine food preparation, trash pullouts, sinks, and casual dining.
For working sides of an island with cabinets and appliances below, stick to the standard 1½″ dimension. For end caps where no seating is planned, an island countertop overhang of 1″ to 2″ creates a balanced, finished look over decorative end panels or wainscoting.
When building an island with seating, the overhang extends far deeper to accommodate legs and knees. Island slabs often carry 10″ to 18″ of cantilevered material on 1 or 2 sides.
Because stone slabs weigh between 15 lbs. and 25 lbs. per square foot, deep island overhangs change the balance of the island structure. Always secure the base cabinets to the subfloor with internal 2×4 blocking before setting heavy cantilevered slabs.
Countertop overhang for seating & breakfast bars
The right countertop overhang for seating depends entirely on the height of the eating surface. Higher seating positions angle your legs downward, which reduces the horizontal depth your knees need under the slab.
Follow these 3 standard seating height guidelines:
- Table height (30″): Requires an 18″ overhang. Sitters use standard 18″ dining chairs. Legs extend straight forward, demanding the deepest knee pocket.
- Standard height (36″): Requires a 15″ overhang. Sitters use 24″ stools. This is the most common single-level island configuration. A minimum depth of 12″ works in tight rooms, but 15″ provides full comfort for adults.
- Bar height (42″): Requires a 12″ overhang. Sitters use 30″ bar stools. Because feet rest on lower stool rungs, knees do not project as deep into the cabinet void.
Horizontal width per person is just as critical as depth. Allow at least 24″ of linear width per seating spot. For example, a 6 ft. island accommodates 3 stools comfortably. Allow 30″ of width per person if using wide armchairs or swivel stools.
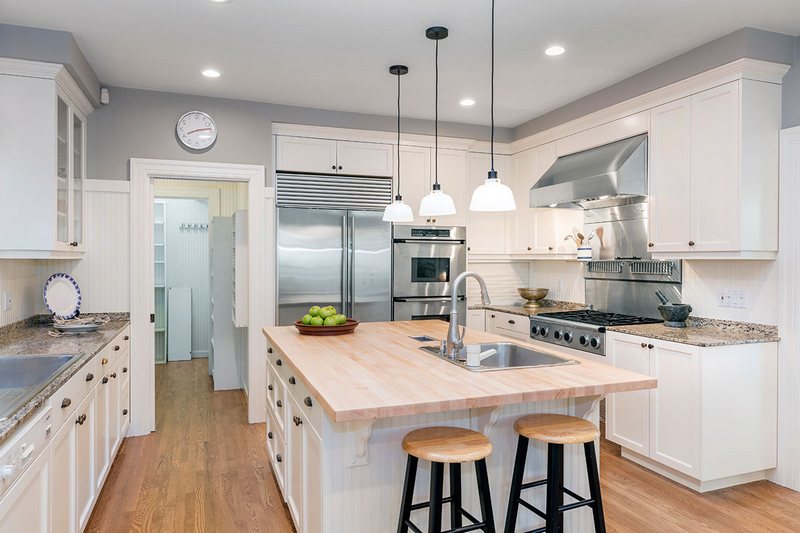
Support methods & installation best practices
Cantilevered stone lacks tensile strength. If a guest leans on an unsupported edge, the material will snap. Install structural reinforcement for large extensions.
Fabricators follow the ⅔ to ⅓ rule. Exactly ⅔ of the total stone mass must rest securely on the base cabinets. Only ⅓ can extend past the base.
Different materials require different support schedules:
- 3 cm quartz counter: Safely extends up to 14″ without brackets.
- 3 cm granite: Requires structural support past 10″.
- 2 cm quartz and granite: Safely extends up to 6″ Deeper overhangs require a ¾″ plywood subtop.
- Dolomite and marble: Max out at 8″ before requiring rigid bracing.
- Butcher block and laminate: Require support past 8″ to prevent joint separation and cupping.
Choose from these proven structural support methods to secure deep overhangs:
- Hidden steel plates: These ½″ thick by 2½″ wide flat bars mount across the cabinet stretchers. Fabricators route a channel into the frame so the plates sit completely flush. They offer maximum weight capacity and preserve knee room.
- Structural corbels: Attach metal L-brackets or wooden corbels directly to internal framing. Corbels must extend to within 4″ of the outer stone edge.
- Support posts: Install turned wood or metal legs anchored to the floor for overhangs exceeding 18″.
Follow these installation steps to secure the surface and protect your warranty:
- Level all base cabinets perfectly before templating.
- Space support brackets every 16″ to 24″ along the seating bar.
- Route the cabinet frames so steel brackets sit flush.
- Fasten every bracket into solid wood blocking using heavy duty structural screws.
- Apply continuous silicone adhesive along all cabinet contact points.
- Secure the stone to the metal plates using approved epoxy.
Failing to anchor brackets properly causes disaster. A ¼″ plywood cabinet back will tear out under the leverage of heavy stone. Finalize your support plan during the design phase to prevent delays on installation day.


